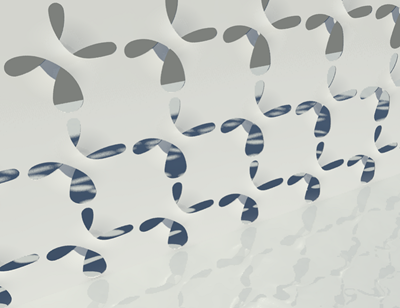
I was extremely impressed to see what fellow bloggers Craig @ http://irevit.blogspot.com/ and Dave @ http://do-u-revit.blogspot.com/ had been doing, by utilizing there Revit skills in an attempt to create some of the amazing sculptural patterns that can be found at the Erwin Hauer's website.
Credit goes to Craig Barbieri who kicked this all off!
Credit goes to Dave Baldacchino who is obviously as geeky as me! :-)
The power of curtain walls
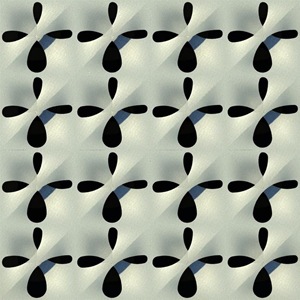
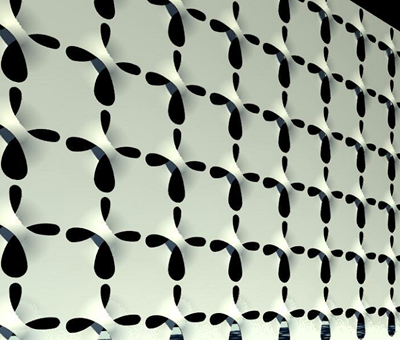
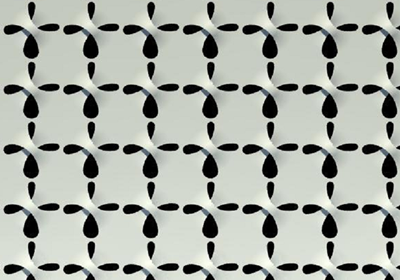
I personally find curtain wall systems one of Revit's more powerful features, although it does have some limitations and creating this sort of panel type is not easy. So in a vane attempt to copy what Craig and Dave had achieved, I put my thinking cap on to come up with my interpretation on what they had created. My resulting solution is not as organic as theirs, but it does show what can be achieved with a bit of lateral thinking. This is my answer to the problem...
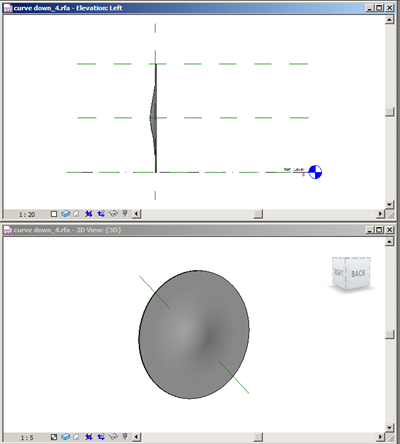
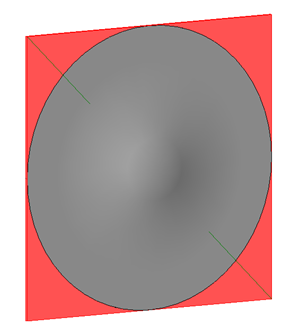
So how did I create this you may ask? Well, often with this type of panel I find is easier to create it as a generic model family and then nest it into a curtain wall panel family and then load this into a curtain wall system. So I started with a generic model family and setup some additional work planes. Next I created a revolve form, created at the centre of the panel.
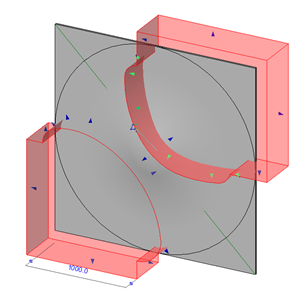
Next I added four extrusions to fill in the four corners of the panel and then used the join geometry tool to join these elements to the previously created revolve.
The next stage was to create a void extrusion which would cut the panel to form part of the twist shape you see in the rendered views. The initial shape was sketched out completely using symbolic lines.
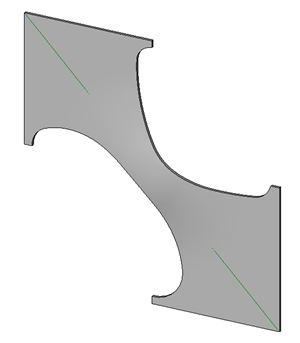
This gave me this result, but this only formed the first part of the panel.
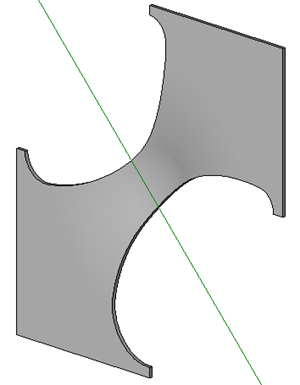
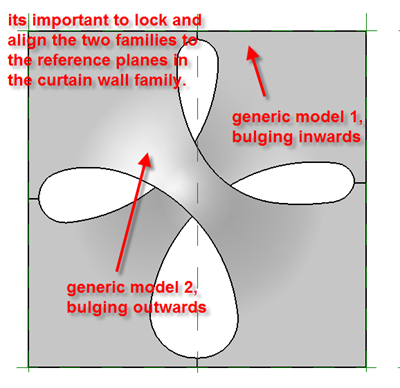
I next duplicated the above family and altered the revolved so that it bulged inwards and then altered the void cuts to so that they would complete the figure "8" void you can see in the images.
The resulting two generic families where then loaded into a curtain wall panel family and aligned and locked to the reference planes within the curtain wall panel family. This is especially important as this is where things can go "pear shaped"! This was the panel completed.
All I needed to do next, was to load it into a project, draw a curtain wall and setup the grid parameters of the CW to match the size defined in the panel and then make sure that this new CW system used my new panel type.
I'm sure there are other ways to create this, however, I hope you find this "enlighting" and it helps you understand that these type of forms can be created within Revit utilizing its current tool set. All I need to do now is work out how to drive the actual curtain wall panel shape using parameters! ;-)

![Hauer_Panel_test_1_closeup_thumb[1]](http://lh5.ggpht.com/davidwlight1969/SMWjmY7u27I/AAAAAAAAAsI/JR6mbx9nY08/Hauer_Panel_test_1_closeup_thumb%5B1%5D_thumb%5B2%5D.jpg?imgmax=800)
