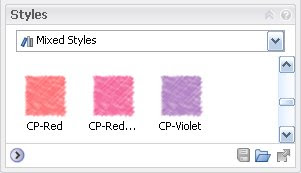
Styles are saved in the drawing (Impression file extensions are .IRF) they are created in. BUT, users can export them to a styles library for future use. This works great when working  on multiple drawings from the same project, or for working on different but similar projects. Just bring them in and apply the style as needed.
Styles are basically applied to a layer. In Impression 2 we have the autolayer feature. This will automatically assign items layers. You can add a style different ways, to a layer or to an object. The easiest way to apply a style to a layer is to select the style, click it, drag it and drop it on the layer you want it on. Very simple. Or, to change an objects style, select the object (a fill pattern for example), then change the style name setting to the layer you want. You can click and drag a style on top of an abject, but it will only add the new style on top of the old style. You might not want that. But this is a method to use to try and get unique effects, so keep that in mind.
Altering a style is simple enough. Select the style you want, and then make any changes you need or want. Save the file and add it to your library for future use.
Styles are the backbone of Impression. I suggest messing the settings just to see what you can do with them. I’ll get more in depth with them as time goes on.


