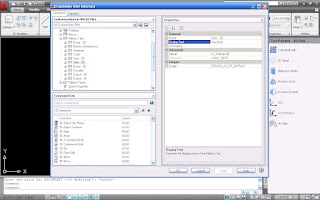
 How can I customize the Ribbon in AutoCAD 2009? Easy enough. Start the CUI. You can do this many ways. I suggest you type in CUI at the command line. Or, you can right-click anywhere on the ribbon and then click on Customize.
 Expand the CUI window, if it isn’t already. Activate the Workspace you want to customize the Ribbon for. Scroll down to the RIBBON TABS list. Each TAB is listed there. Here you can create a new tab, or edit the existing tabs. All you can really change here are the Panels that are in the tab.
Go to the TAB you want to edit and expand that list. To remove a panel, go to the Panel you want to remove, right-click it and select the remove option. To add a tab, scroll down to the RIBBON PANELS list. Find the panel you want to add, click and drag it to the proper tab and drop it. You can change the order of the panels by dragging them to where you want them. You can also change the order of the panels while working in AutoCAD, and not in the CUI. Just drag the panel tab to the location you want it to be in.
While you are in the Ribbon Tabs list, you can also duplicate a tab. Right click the tab you want to duplicate, and click the duplicate button. Ingenious concept right? Did you notice the COPY option when you right-clicked the tab? The difference between duplicate and copy are simple. Duplicate will make a copy of the tab and place it in the list. The COPY option makes a copy of the tab and places it in your clipboard so you can paste it somewhere.
That is how you customize the Ribbon tabs. Later on I will post about customizing the Ribbon Panels.
Happy CADDING!!


