In this example I am going to show you how to use Sketchup content within your Revit families. It won’t be parametric, but it will help enhance your Revit presentation projects. A word of warning before we start, some Sketchup geometry can be rather heavy, so keep it simple and light weight. If you haven’t got a copy of Google Sketchup, you can download a free copy from the following address
http://sketchup.google.com/download.html (remember that the free version of Google Sketchup is for personnel use only :-) ).
Content can be downloaded from the following address http://sketchup.google.com/bonuspacks.html in this example I have downloaded the Component Library for People.
We are going to use one of the 2D people from Sketchup to create a silhouette for use within Revit.
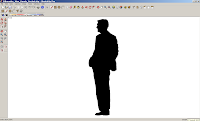
Once you have Sketchup installed and the component library downloaded, start Sketchup and browser to the following locations:- C:\Program Files\Google\Google SketchUp 6\Components\People\2D Silhouettes
Open up the component called “Silhouette_Man_Hands_Pocket.skp” Save this component to a suitable location on your hard drive so that it is easily accessible from within Revit.
Next start up Revit. Then go to the File pulldown menu>new>family>Entourage.rfa This will open up the family editor with an Entourage template. 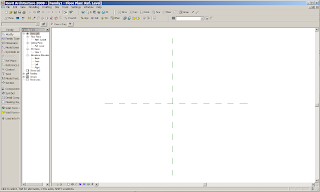

Next load your “Silhouette_Man_Hands_Pocket.skp” directly into the empty Entourage family. To do this go to the File pulldown menu>import/link/CAD formats. The Import/Link dialogue box will appear. 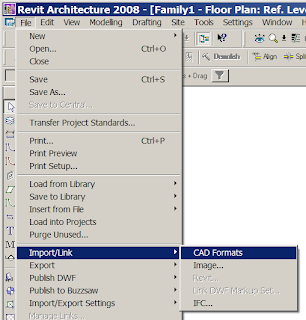

Make sure you have the following settings selected:- change the file type to Sketchup File SKP, positioning should be centre to centre, Layer/level colour should be set to black and white, Scaling units, set to Auto-Detect.
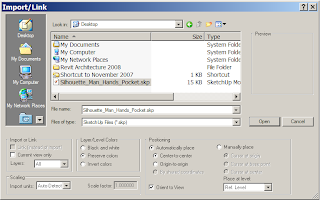
Import your “Silhouette_Man_Hands_Pocket.skp” into the family. You may need to be repositioned your man so that so is on the centre of the two reference lines in the family. Next go to a 3d view to make sure he has imported in correctly.
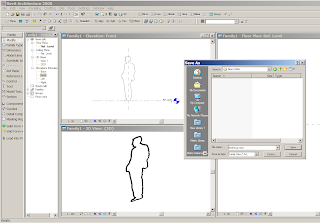

Next save the new family with a suitable name, in this instance I have just called him sketchup man.rfa.
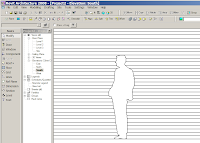 Your newly created content is now ready to use. Load your new family into a new project. Next go to components in the Basics design bar and place your man in a plan view. If you now go to an elevation or a 3D view you will see him.
 Your newly created content is now ready to use. Load your new family into a new project. Next go to components in the Basics design bar and place your man in a plan view. If you now go to an elevation or a 3D view you will see him.
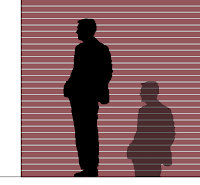 The nice thing about this approach is that the man will cast shadows when you enable shadows in a view. The man will also appear in a 3d view giving the impression of silhouette without the overhead of a complex 3d figure.

 So in summary, use what ever content you like to spice up your Revit presentation projects, however choose the content with care as complex geometry will add weight to even the smallest of projects. Good Luck and enjoy. :-)


